
Just over 10 years ago, I gifted a quilt to my nephew. The Project That Started This All. While rearranging and resorting and rearranging again my quilting tools, I ran across the Fiskars Rag Quilt Snips in a drawer. And got to thinking. I really liked the way that quilt turned out. Why not make one for myself. I was looking for a project to keep me busy during my staycation and this was the perfect project - Started December 26, 2020 - finished January 5, 2021.

There is a plethora of new licensed fabric for FSU (as well as for many other schools and sports teams), and I started collecting. I have a bad habit of collecting more than I use... I think I ended up with 9 different FSU fabrics in my stash, and there may be scraps of the original two still hanging out - neither of which appear to be available on eBay or Etsy (definitely not from the retailers).

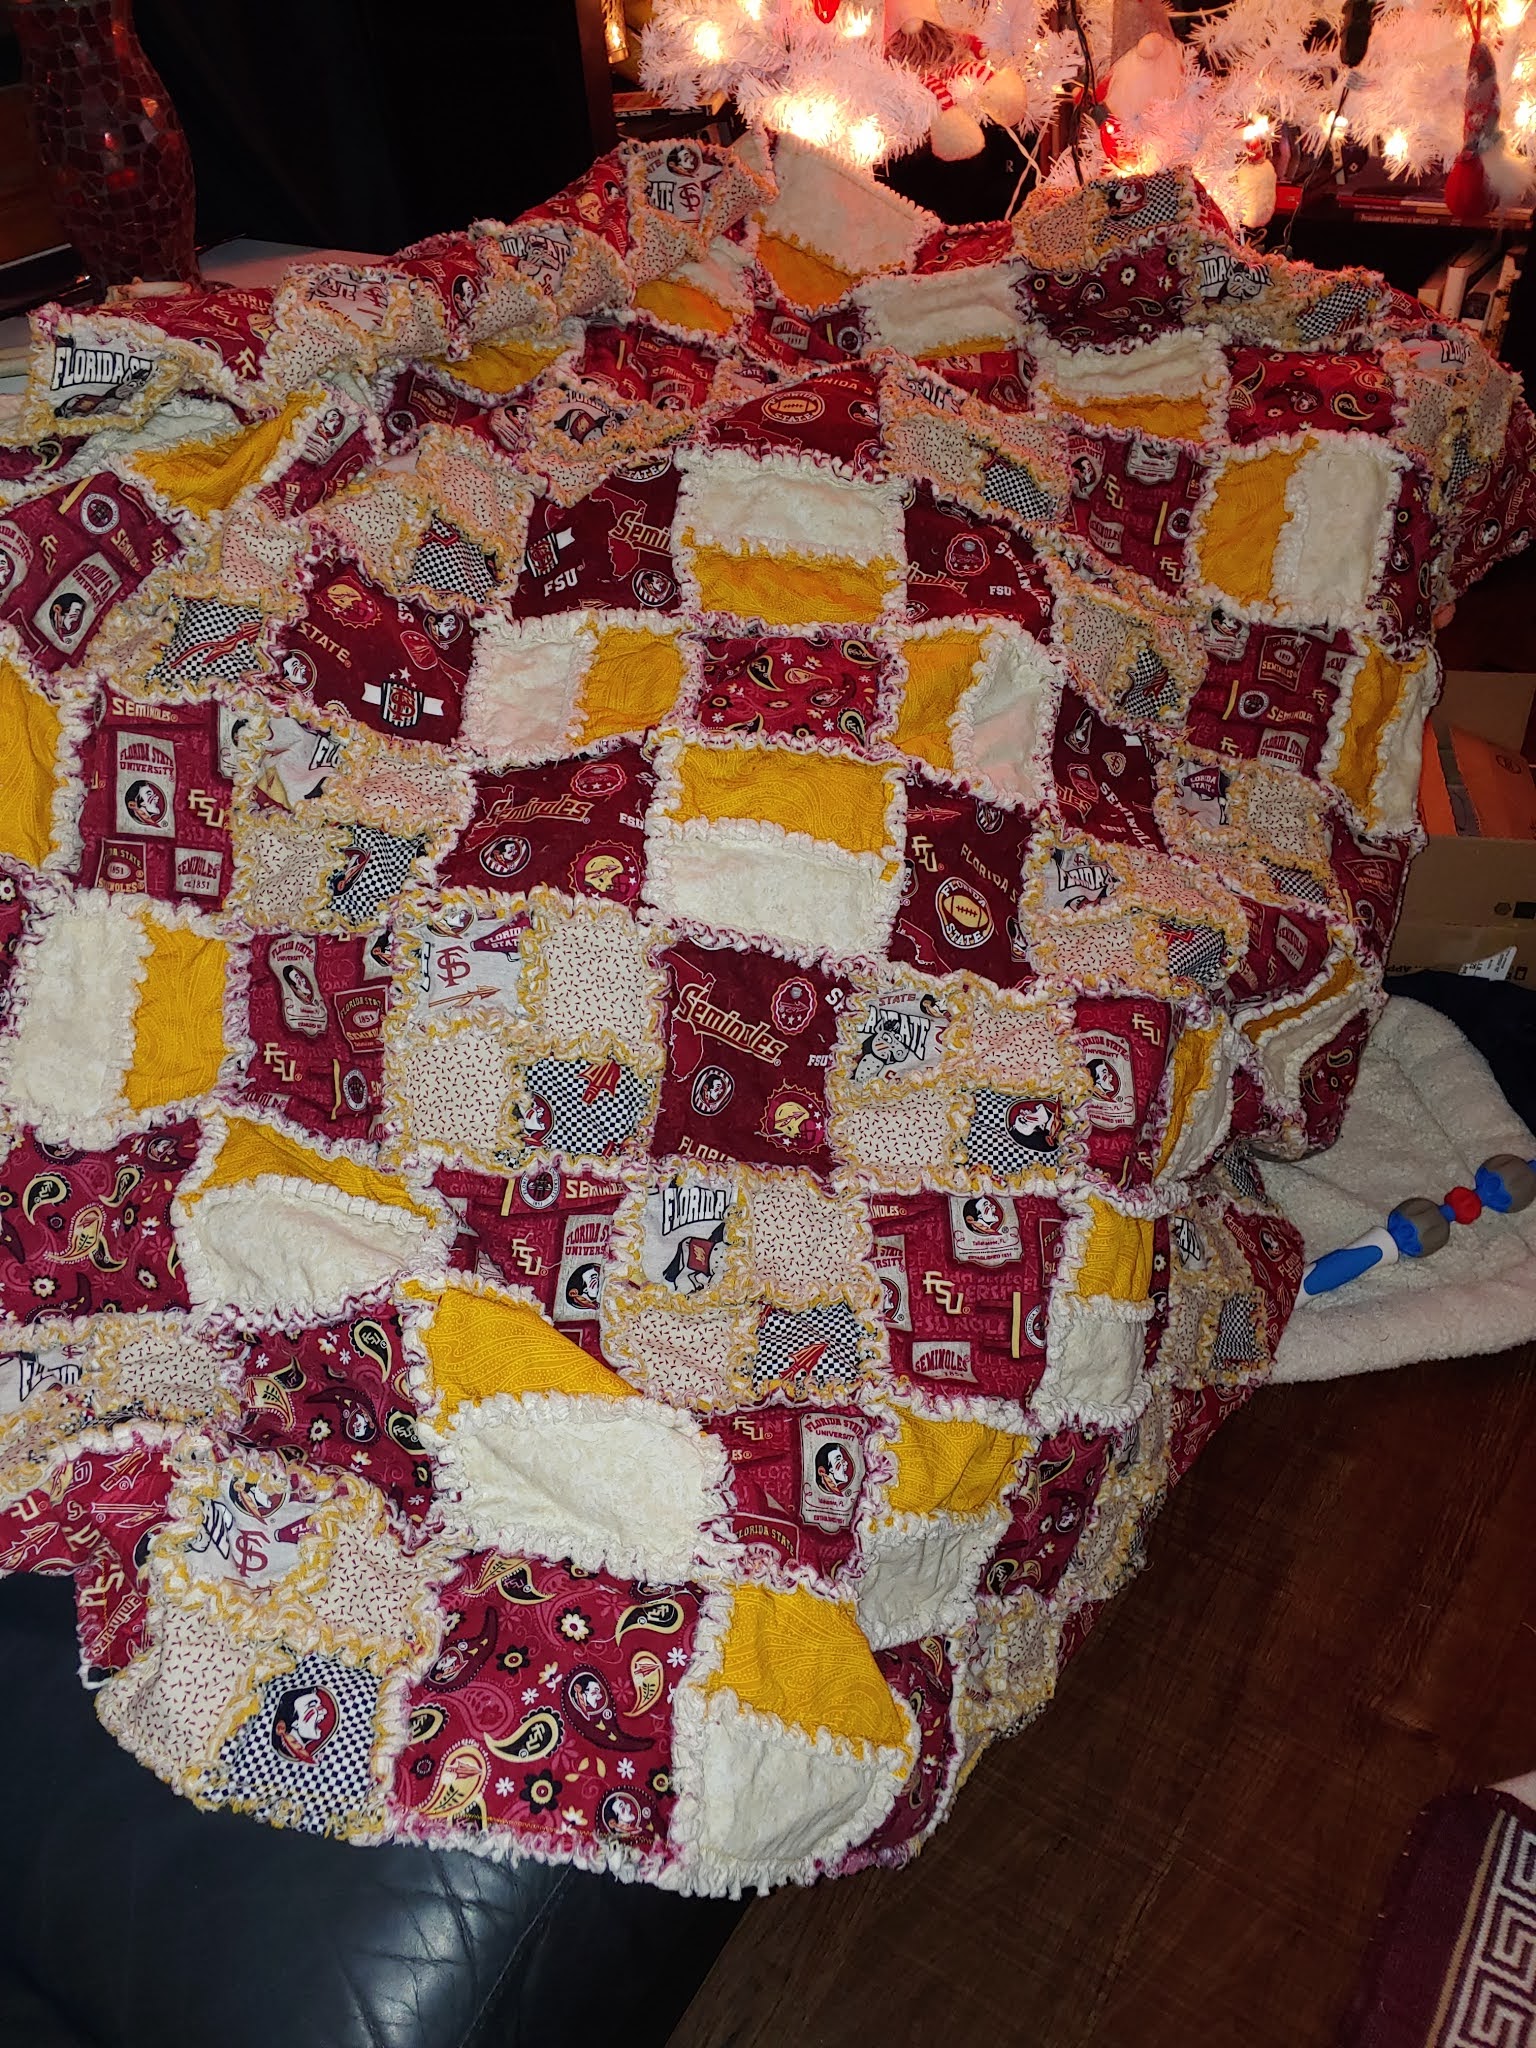
Lots of fun new fabrics to play with. Because I was collecting without a pattern or goal in mind, I generally purchased a yard of each - not enough to do the full quilt with just one garnet fabric - so I used 4 different ones in the layout along with two grays. Originally the red on the top right was going to be the backing, but I decided against cutting up a backing that could be used for a queen sized quilt. Switching gears, I decided to use the dotted neutral. There wasn't enough of that to do the entire back, so I ended up using some of the FSU fabrics on the back as well. This led to lots of hand written diagrams and notes so that everything would end up in the right place.


And as I cut, learned that I still didn't have enough of the dotted fabric to do what I wanted on the front and the back, so subbed in a neutral for the front, and decided that the chosen yellow was competing too much, so auditioned a new one (the one on the left was the winner).

Eventually, I ended up with 17 sets of cut blocks. Some of those piles were used to create the four patch blocks and the two-rectangle square blocks. So now I had thirteen different combinations. I divided the rectangle blocks into four equal sets as I needed 7 facing in each direction... but I won't bore you with the numbers. Suffice it to say, my cutting table was full of blocks with coded bits of paper that matched up to my master diagram.

I then meticulously stacked everything by row - pinning the row number to the first block of each row and leaving a loose one number on each stack so that I didn't lose track of which one to add next.

Rows were built a few at a time a few blocks at a time, starting on December 29th.

Until I had the weight of all 11 ready to combine. Then the real fun began. I've decided I much prefer Wonder Clips to pins for keeping my rows together. So the routine was to pin sets of rows together, sew, combine sets, repeat. The weight of the flannel made maneuvering the rows after the first two were joined a little challenging. I no longer use the sewing desk for piecing as that is where my "home office" is based. So I'm using a portable sewing table that I got from Craigslist as part of my purchase of Bernadette. For years that table was stored behind my fabric cabinet, and now it has a starring role in my sewing space. It also does not have a lot of space to the left of the needle, providing lots of opportunity for drag and catching on things - I'm still trying to maneuver existing furniture around to solve that hiccup. But I digress. Because this is a rag quilt, I did not fret about uneven seams the way I would in a standard quilt - it gives it character (that is my story and I'm sticking with it).
 |

I started clipping seams on New Year's Eve - and finished snipping on January 4th. Snipping may have taken as long as the sewing did. I now see why some people prefer the Accuquilt Rag Quilt die which pre-fringes blocks for you. One blister later (and an excellent excuse to get out of washing dishes) I was done.

Now for the washing. In the absence of COVID-19, I would have gone to the laundromat to mitigate the lint in my pipes and machines. However, that is not an option for me this year. So off we went to the laundry room. Three times through the washer and dryer with various jeans and towels to keep it company. I have a front loader that does not like it when I try to wash only one quilt or one blanket.

The lint accumulation from three times through the washer and dryer was impressive, that is a standard dryer ball to the right for scale. I could have quit washing after after 2 cycles as there wasn't too much of a change in the ragging, but there was still a substantial amount of lint in the trap after three, so I'm glad I persevered. There are thread scraps throughout the house and I anticipate we will be shedding thread for days, weeks, months...
 |
The technical details:
- The first quilt has finished blocks of 7 inches. A decidedly weird measurement considering the rail fence blocks. Because the fabric standard width is trending downwards, I decided on 6 inch finished blocks in hopes of cutting 6 7 inch squares from each width of fabric. That worked great, with the exception of one print and the cream flannel which was barely 42 inches wide - so there are selvedges included in some of the snipped areas. There is no batting in this quilt.
- The blocks are roughly 6 inches finished, cut 7 inches for the solid blocks and 4 inches for the strips used for the four patches and the two-rectangles.
- There is no quilting in the individual blocks because I used a block that was small enough for me to be comfortable not quilting it.
- Three layers - cotton fabrics on the outside, flannel on the inside
- 11 rows by 11 columns for 121 blocks. 61 squares, 32 two-rectangle blocks, and 28 four patch blocks.
- Layout is a trip around the world setting.
- Finished size planned at roughly 66 x 66, but is more like 60 x 60 after taking some extra wide seams along the way and a bit of shrinkage. Still the perfect size for snuggling up.
- Tools from start to finish to transform 11 random fabrics into one wonderful quilt: Excel, Pencil, Paper Scraps, Stayflo Starch, Dry Iron, Wool Pressing Mat, Water Bottle, Gingher Rotary Trimmer, Creative Grids Stripology Ruler, Creative Grids 12 x 2.5 inch Ruler, Wonder Clips, Pins, Bernina 830 Record, So Fine 50/3 thread, Gold Thread, Fiskars Rag Quilt Snips, Netflix.
No comments:
Post a Comment