

My how time flies when you are having fun. On June 29th, I took a day for myself and spent it at Thimble Pleasures taking a course from Annette Ornelas - Carolina Dogwoods. The technique in the class is one that Annette developed herself - which creates the illusion of curved piecing without the pain of curved piecing. By the end of the day, I had a completed top for a lovely wall hanging. There were seven of us in the class - and each of us had a dramatically different colorway.
Annette is clearly an experienced and flexible teacher. She was able to work successfully with a variety of skill levels from a woman who had never made a quilt top (but fortunately had lots of experience in garment making) to experienced quilters. Carolina Dogwoods is an intermediate level pattern. I am somewhere around advanced beginner - so this was a great fit for me. One of my friends in the Quilt Bee was also in class, so we had a good day. Annette was able to move from table to table, coaching us at the point where we were, moving us on to the next task, without leaving me feeling rushed or neglected.

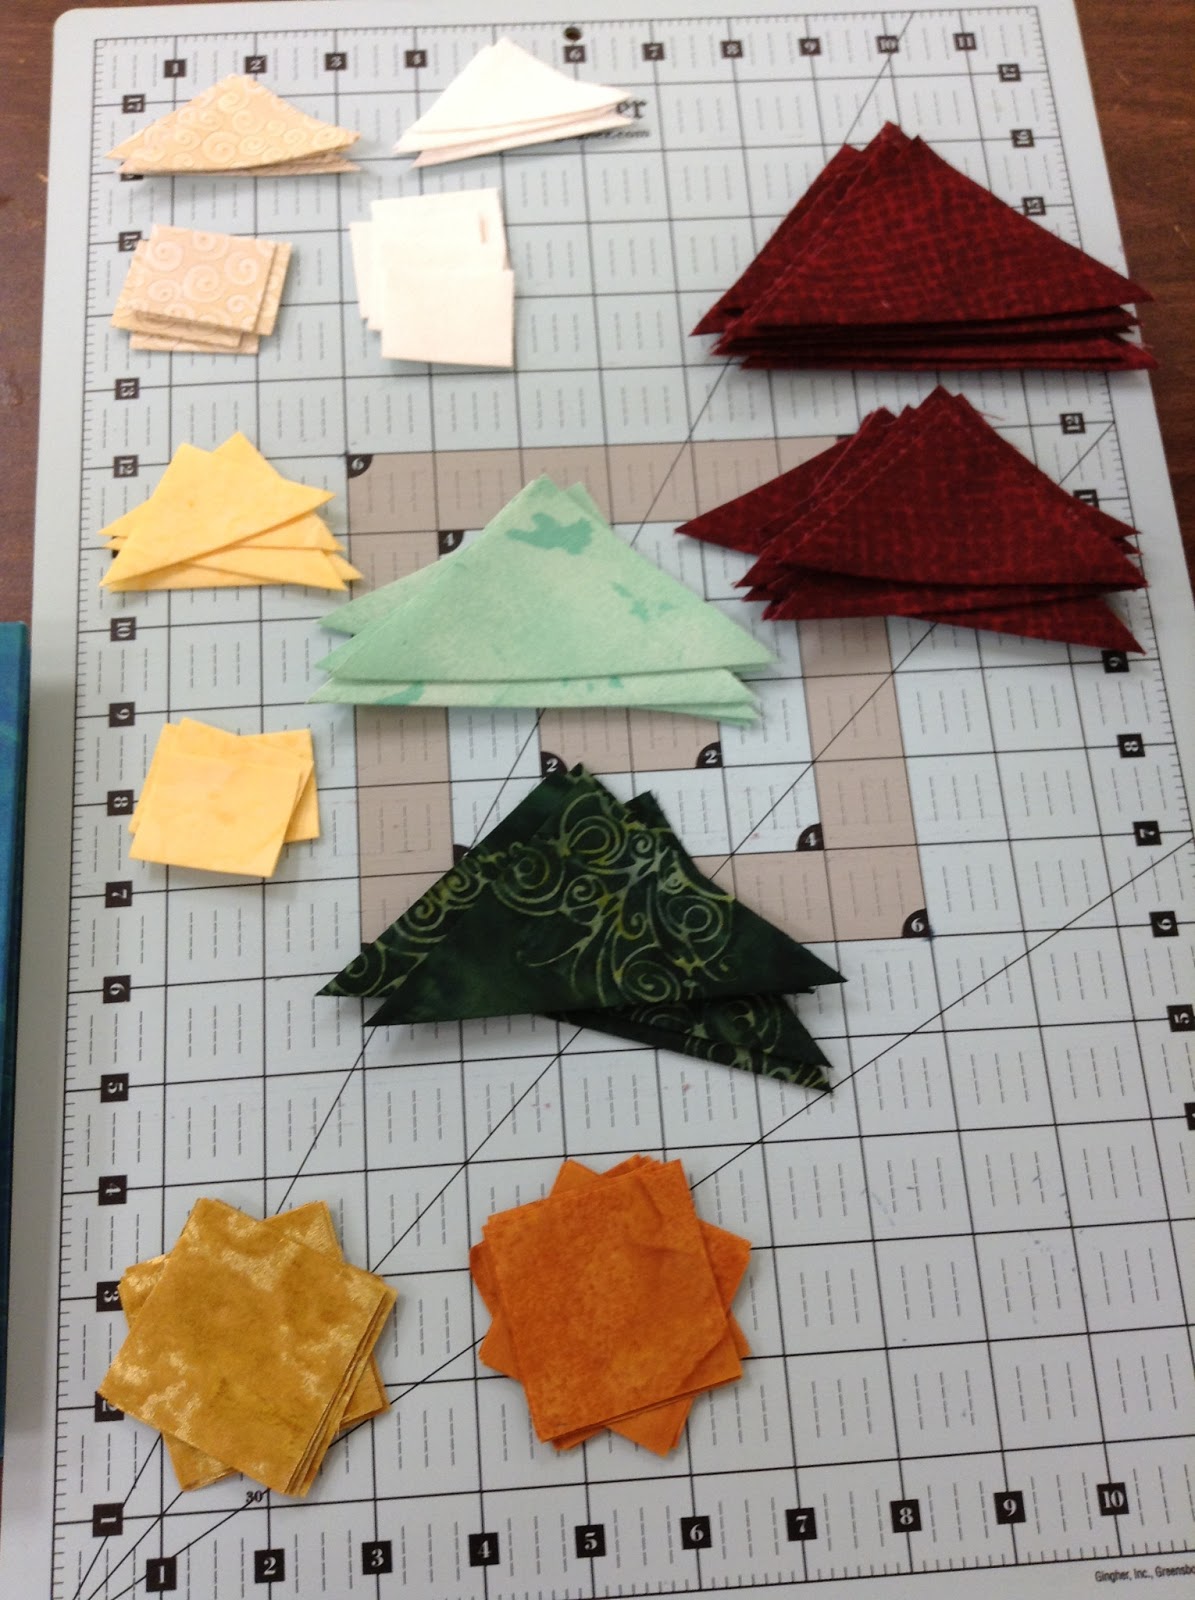
The quilt block is constructed from the center - outwards. And parts of it remind me of folding origami. The key is to remember to sew perpendicular to the folds rather than parallel as a parallel seam results in in a fabric loop rather than something that can be folded.

Before gluing the corners down for the flower centers - we pre-curved the centers. This is small detail work. The seam along the edge is about 1/8th inch and will be covered by the layer of triangles - which will be curved once I start quilting the piece.

An alternative is to leave the centers straight, but to me that was a bit blocky for my taste.

 We then built the center -edge pieces for each petal which feature a triangle of background fabric (triangular once the tip of the diamond (from the fold) is trimmed off. Those bits will be curved during quilting as well.
Finally, we created the corners of each petal. These are three layers - body of petal, accent color (gold) and background. The accent triangle is folded to the back and then the petal piece is glued to the background square.

A seam is basted roughly 3/8 to 1/2 inch from the edge in order to keep the petal and background together while completing the flower assembly.

Once the components are complete - the flowers go together as a 9-patch block.

The leaf blocks are next - again a sequence of gluing the points of the triangles in place - stitching together the two halves of the block and gluing on the background points.


These will be curved during quilting.


Finally - a few variations of color order. When I started the wall hanging, I thought I would prefer the yellow dogwood over the gold swirly one - but it turns out, I really like the gold swirly one better. My colorway is based on Florida State colors - not necessarily dogwoods found in nature.
Once the top is assembled, it is time to press the accents into submission and pre-curve the petal corners. The reason for this is that the background and accent fabrics show through the white and yellow (and most of the light colored fabrics). So if the curving is stitched down prior to basting the top, then the excess fabric can be trimmed away. After the curves are stitched, the line of basting stitches is removed.
I was one of the few who left with the borders on the quilt and the pre-curves done on the petals. I did find an area where a seam pulled apart during construction - after I applied the borders. Fortunately, I was able to sit at home and fix that by hand (as the attempt to fix on my machine failed miserably). Next step for this one is to choose a backing and assemble the quilt sandwich. Quilting this will be fun!
No comments:
Post a Comment