Well, the longer I spent removing stitches, the more I didn't like the way the back was aligning with the front. So I ended up unpinning the entire quilt.
For the re-pinning of the quilt, I adapted the method of pinning that Harriet Hargrave teaches in Heirloom Machine quilting.
Harriet's method recommends taping a toothpick at the center of each side of the table so that you can easily center the quilt layers on the table. Because of the vertical sashing on both the front and back that I wanted to match as closely as possible and knowing my limitations as to keeping a straight line straight, I created a center ridge on my big board. To raise the board to a better work level, I placed three fat quarter storage boxes under the board as I haven't replaced my ironing board yet.
I first wrapped coffee stirrers in blue painter's tape to thicken them, then carefully measured the center of the board in both directions and added more tape to secure the ridges.
Next, I folded the back of the quilt in quarters and lined it up on the center point.Using a ruler, I checked the position of the center over the ridge so that there were 3.5 inches on each side of the ridge. I used large binder clips to secure the quilt to my board and adjusted as needed until I was satisfied that the back was correctly placed.
I folded the batting in quarters and unfolded it to center over the backing. This was a little harder for me as there wasn't an easy way to confirm where the center of batting was. It did end up slightly off, but not enough to make me take the quilt sandwich apart a third time.
Finally it was time to add the top. Once again, I used a ruler to center the quilt along the ridge, ensuring that 1.25 inches of the center strip fell on each side of the ridge. After carefully smoothing the wrinkles out, it was time to start pinning again.
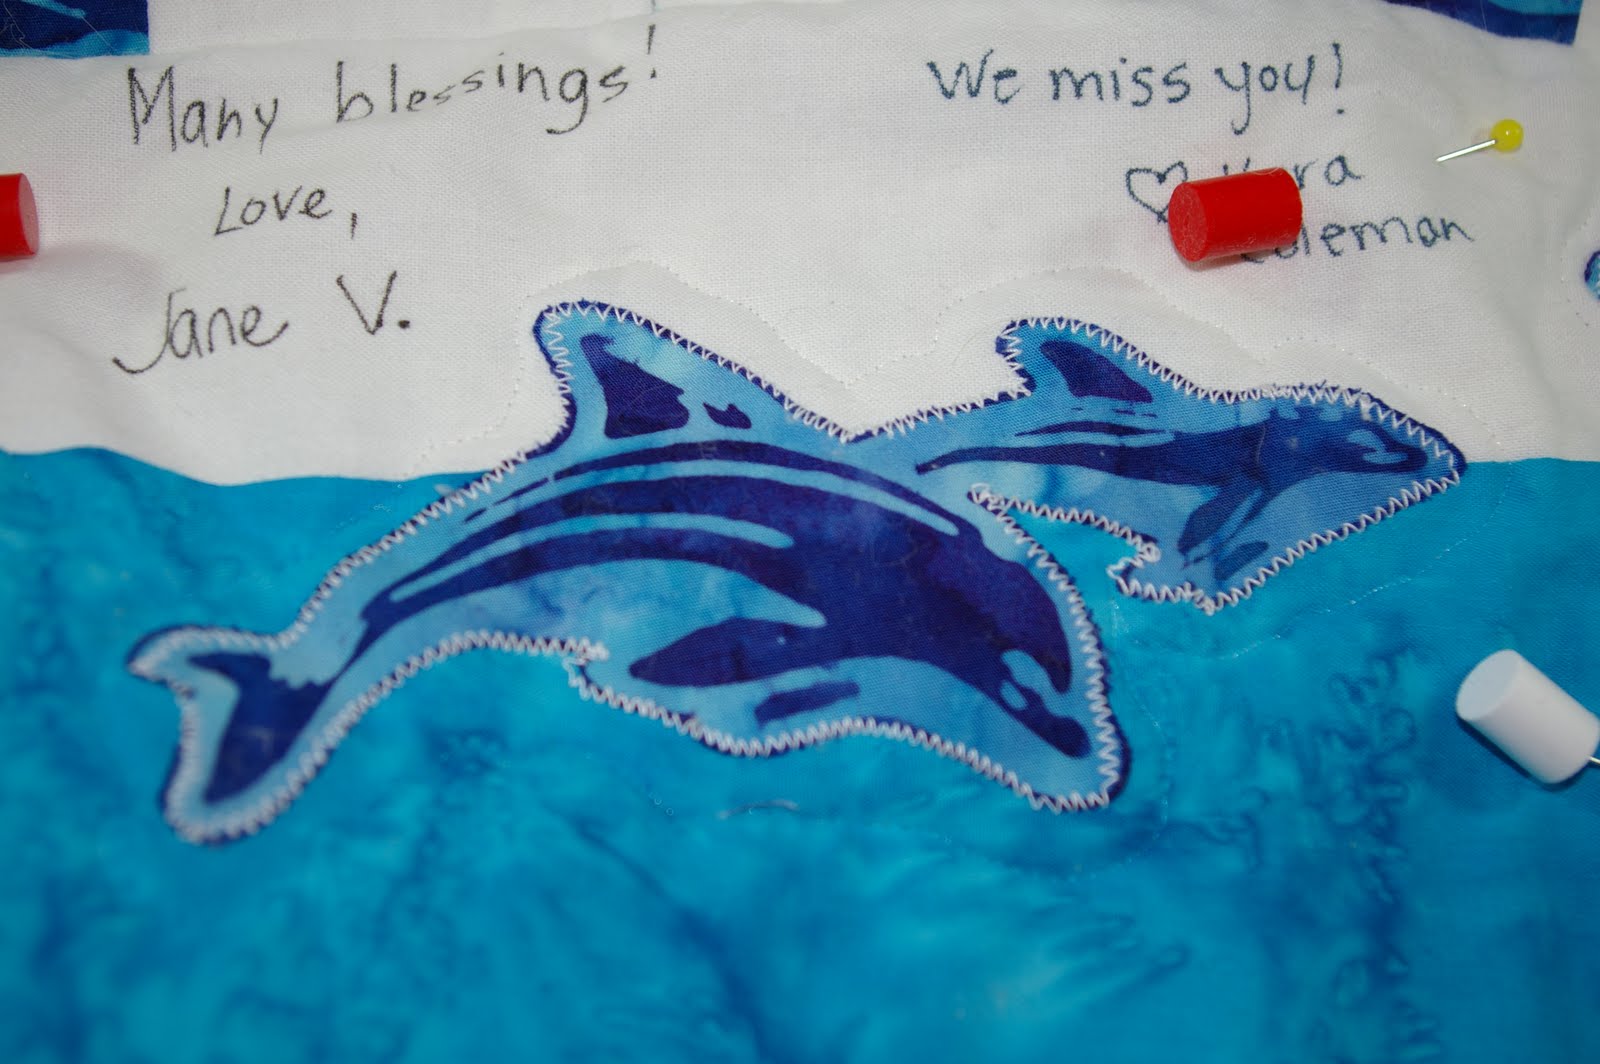
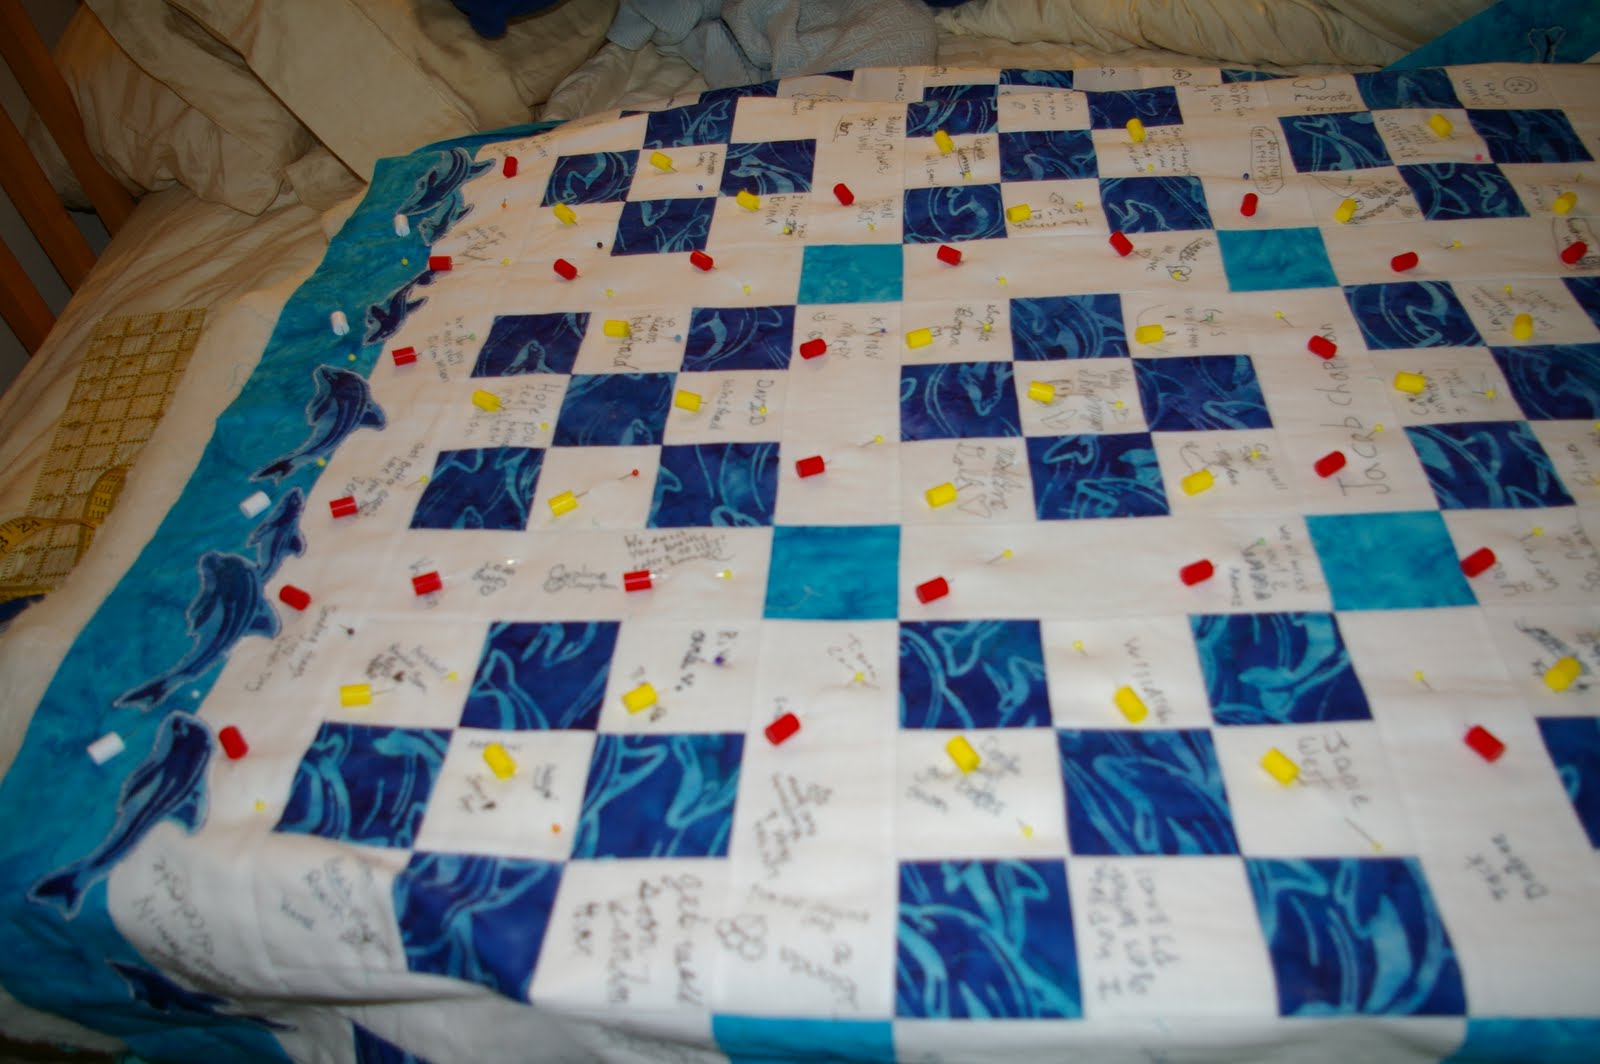
Starting from the center I worked my way out along the 9-patch blocks, pinning in the signature blocks as I don't plan to stitch in those, and then added pins to the sashing strips and finally on the borders. I did manage not to pin the quilt to the fabric cover on the big board, but I also had to go back and repin some pins where I didn't manage to get the pin all the way through the layers. I'll need to figure out a better surface to add next time - posterboard would probably work without adding too much bulk, and would allow me to keep my ridge intact.

After the middle third of the quilt was pinned, I moved the quilt and reattached three sides of the backing to draw it tight, smoothed the batting and the top and continued pinning. Harriet points out that the weight of the pinned portion will keep the fourth side taut, and that does work when the portion dangles off the board versus pooling on the bed. Even with the boxes raising the height of the board, there was too much support of the quilt to get a good taut hold.
Finally it was time to roll the quilt and prepare to stitch again. By the end of the evening, the ten vertical seams were in place again, and I am MUCH happier with how they look on the back as well.
Hard to see as I'm using invisible thread in the bobbin as well, but they really are straighter than the first time around. Unfortunately, I confirmed that my math logic was off, so the seams on the back sashing are not where I envisioned they would be, but they are straighter than the first try.
One step I skipped when starting was the anchoring. Harriet recommends that the first two seams you put in anchor the layers - so at least one vertical and one horizontal. The anchors would differ if there are diagonal lines. When I re-rolled the quilt to get ready for the horizontal sashing lines, I learned why that recommendation is important. If you look carefully at the teal cornerstone on the right, you can see that it is no longer perfectly square - I sewed one of the seams top to bottom and the other bottom to top, and it did skew that cornerstone slightly.
My stitch in the ditch accuracy is improving, as is my pinning. Off to start on the horizontal seams and then to decide how to handle the 9-patch blocks.


 So - I grabbed several of my least favorite 9-patch blocks from the 9-patch challenge, sewed them together, then added a quick border to create a practice quilt. In the process, I discovered that I really like working with small quilts. I did this to try to create a piece large enough to create some of the drag that I experienced with the big quilt. However, I don't think I accomplished that - it was pretty easy to maneuver and moved smoothly.
